1.7. Futon: Web GUI Administration Panel
Futon is a native web-based interface built into CouchDB. It provides a basic interface to the majority of the functionality, including the ability to create, update, delete and view documents and views, provides access to the configuration parameters, and an interface for initiating replication.
The default view is the Overview page which provides you with a list of the databases. The basic structure of the page is consistent regardless of the section you are in. The main panel on the left provides the main interface to the databases, configuration or replication systems. The side panel on the right provides navigation to the main areas of Futon interface:

Futon Overview
The main sections are:
Overview
The main overview page, which provides a list of the databases and provides the interface for querying the database and creating and updating documents. See Managing Databases and Documents.
Configuration
An interface into the configuration of your CouchDB installation. The interface allows you to edit the different configurable parameters. For more details on configuration, see Configuring CouchDB section.
Replicator
An interface to the replication system, enabling you to initiate replication between local and remote databases. See Configuring Replication.
Status
Displays a list of the running background tasks on the server. Background tasks include view index building, compaction and replication. The Status page is an interface to the Active Tasks API call.
Verify Installation
The Verify Installation allows you to check whether all of the components of your CouchDB installation are correctly installed.
Test Suite
The Test Suite section allows you to run the built-in test suite. This executes a number of test routines entirely within your browser to test the API and functionality of your CouchDB installation. If you select this page, you can run the tests by using the Run All button. This will execute all the tests, which may take some time.
1.7.1. Managing Databases and Documents
You can manage databases and documents within Futon using the main Overview section of the Futon interface.
To create a new database, click the Create Database ELLIPSIS button. You will be prompted for the database name, as shown in the figure below.
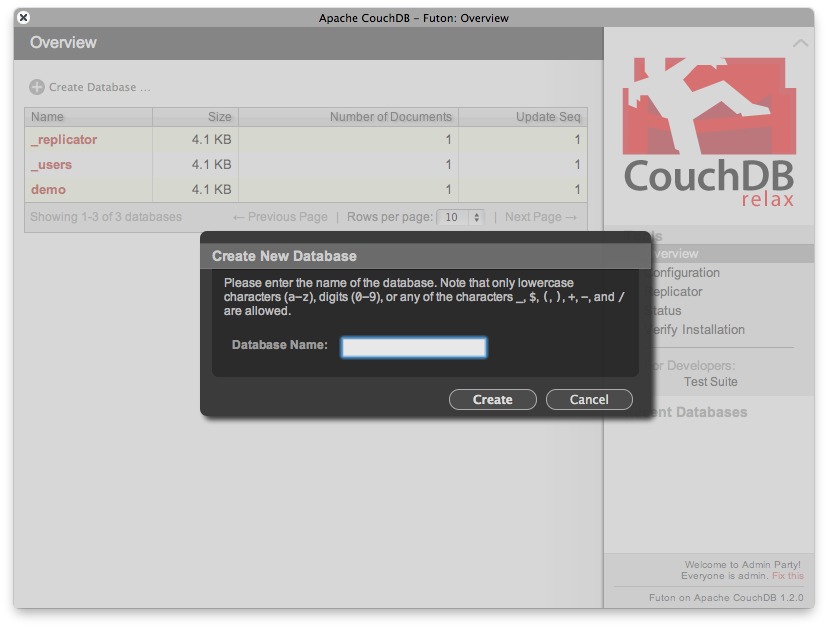
Creating a Database
Once you have created the database (or selected an existing one), you will be shown a list of the current documents. If you create a new document, or select an existing document, you will be presented with the edit document display.
Editing documents within Futon requires selecting the document and then editing (and setting) the fields for the document individually before saving the document back into the database.
For example, the figure below shows the editor for a single document, a
newly created document with a single ID, the document _id field.
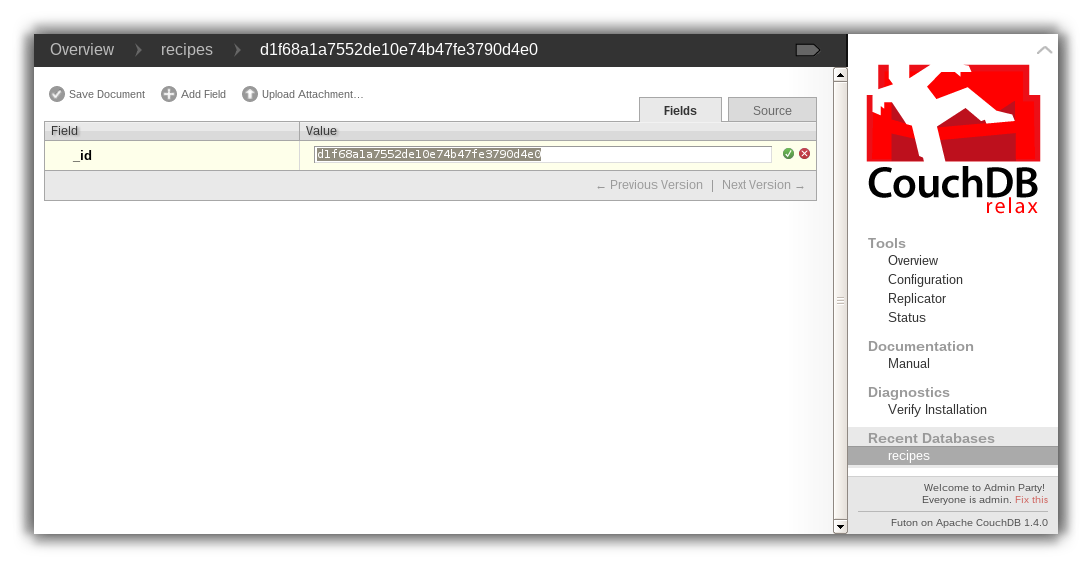
Editing a Document
To add a field to the document:
Click Add Field.
In the fieldname box, enter the name of the field you want to create. For example, “company”.
Click the green tick next to the field name to confirm the field name change.
Double-click the corresponding Value cell.
Enter a company name, for example “Example”.
Click the green tick next to the field value to confirm the field value.
The document is still not saved as this point. You must explicitly save the document by clicking the Save Document button at the top of the page. This will save the document, and then display the new document with the saved revision information (the
_revfield).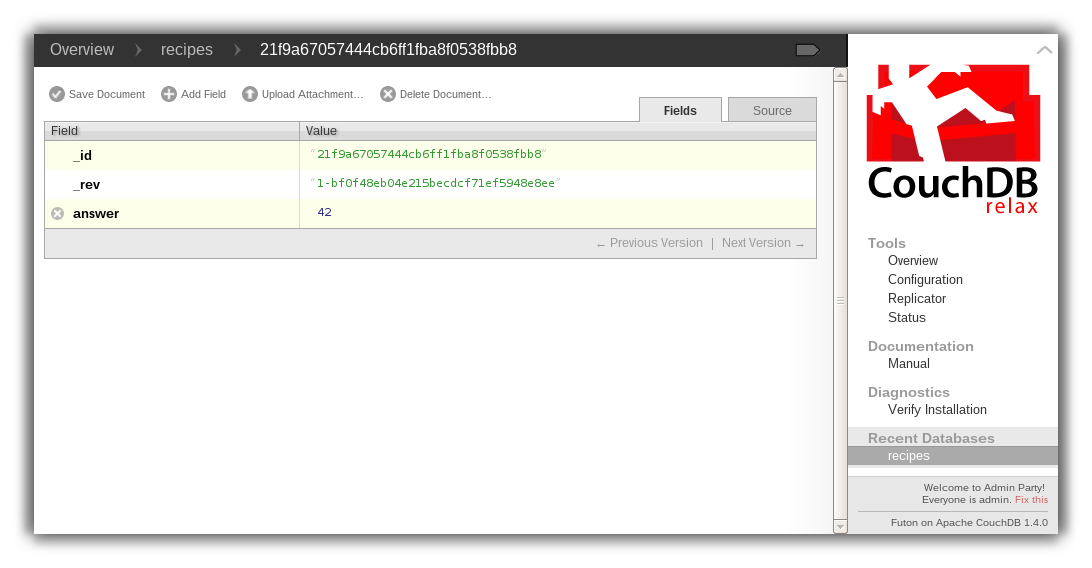
Edited Document
The same basic interface is used for all editing operations within Futon. You must remember to save the individual element (fieldname, value) using the green tick button, before then saving the document.
1.7.2. Configuring Replication
When you click the Replicator option within the Tools menu you are presented with the Replicator screen. This allows you to start replication between two databases by filling in or select the appropriate options within the form provided.
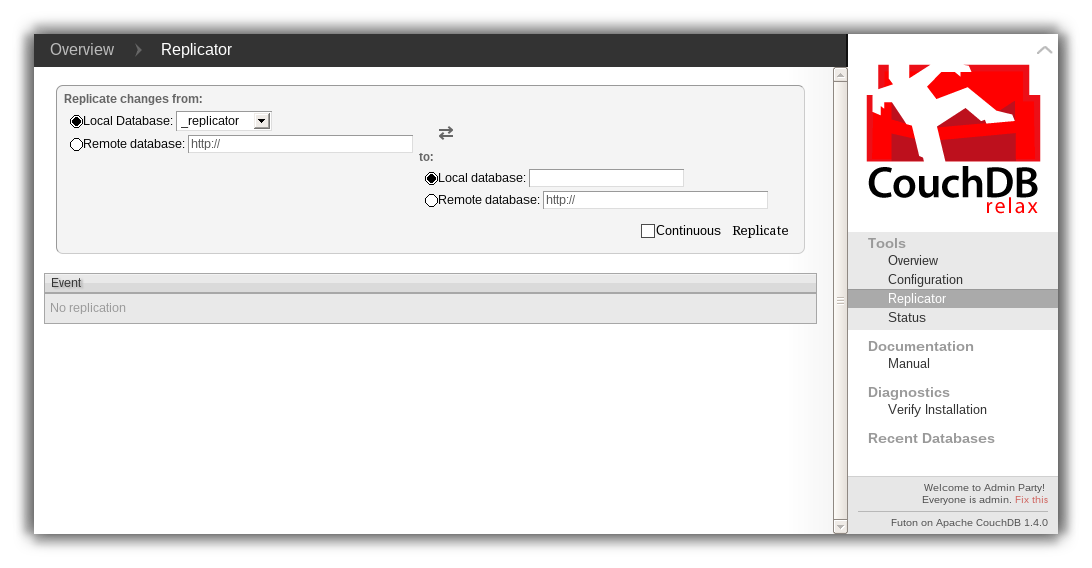
Replication Form
To start a replication process, either the select the local database or enter a remote database name into the corresponding areas of the form. Replication occurs from the database on the left to the database on the right.
If you are specifying a remote database name, you must specify the full
URL of the remote database (including the host, port number and database
name). If the remote instance requires authentication, you can specify
the username and password as part of the URL, for example
http://username:pass@remotehost:5984/demo.
To enable continuous replication, click the Continuous checkbox.
To start the replication process, click the Replicate button. The replication process should start and will continue in the background. If the replication process will take a long time, you can monitor the status of the replication using the Status option under the Tools menu.
Once replication has been completed, the page will show the information returned when the replication process completes by the API.
The Replicator tool is an interface to the underlying replication API. For more information, see /_replicate. For more information on replication, see Replication.